Building a Padlet Wall Space
Please click on the video below to view the process of creating a new Padlet Wall Space. You are encouraged to build the Padlet Wall along side the author. Instructions for topics mentioned in the software demonstration are provided below the video. When you are finished watching the video, prepare an account by following the steps in the instructions below. When you have created a Padlet Wall Space, please click "Continue to Posting to a Padlet Wall".
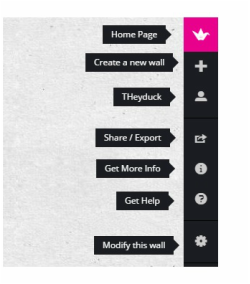
Step 1: Create New PadletIn the image to the right you will see the Padlet Home Page.
|

|
Step 2: Padlet Control BarIn the image to the right you will see the Padlet Home Menu Bar and its features.
|
|
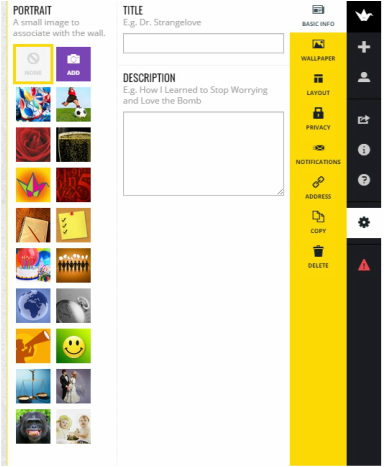
Step 3: Basic InfoIn the image to the right you will see the Basic Info Tab and its features.
|
|
Step 4: WallpaperIn the image to the right you will see the Padlet Wallpaper Menu Bar and its features.
|

|
Step 5: LayoutIn the image to the right you will see the Padlet Layout Menu Bar and its features.
|

|
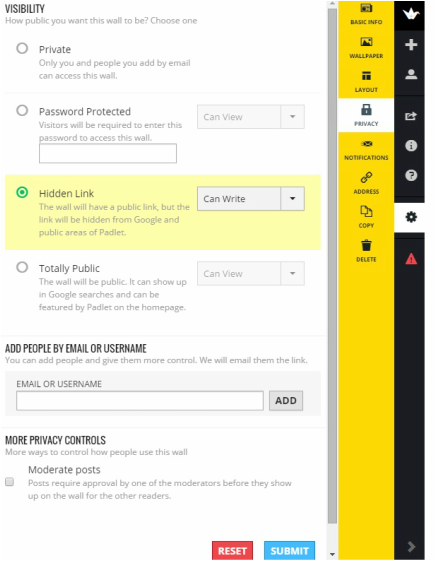
Step 6: PrivacyIn the image to the right you will see the Padlet Privacy Menu Bar and its features. Users can be given access in three distinct options allow for view a wall, allow for write on a wall, or allow to moderate and make changes to a wall.
|
|
Step 7: NotificationsIn the image to the right you will see the Padlet Notifications Menu Bar and its features.
|

|
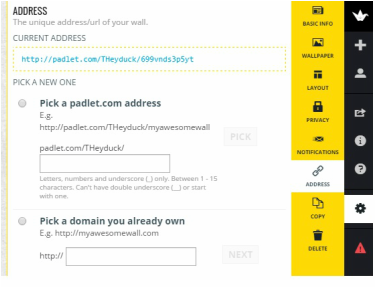
Step 8: AddressIn the image to the right you will see the Padlet Address Menu Bar and its features.
|
|
Step 9: CopyIn the image to the right you will see the Padlet Copy Menu Bar and its features.
|
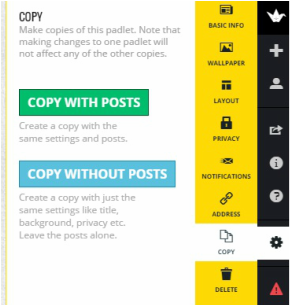
|
Step 10: DeleteIn the image to the right you will see the Padlet Delete Menu Bar and its features.
|
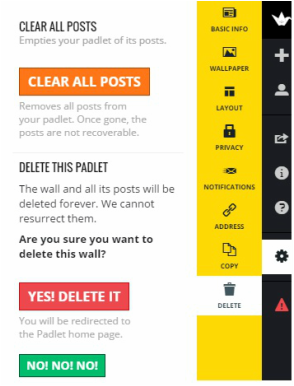
|
